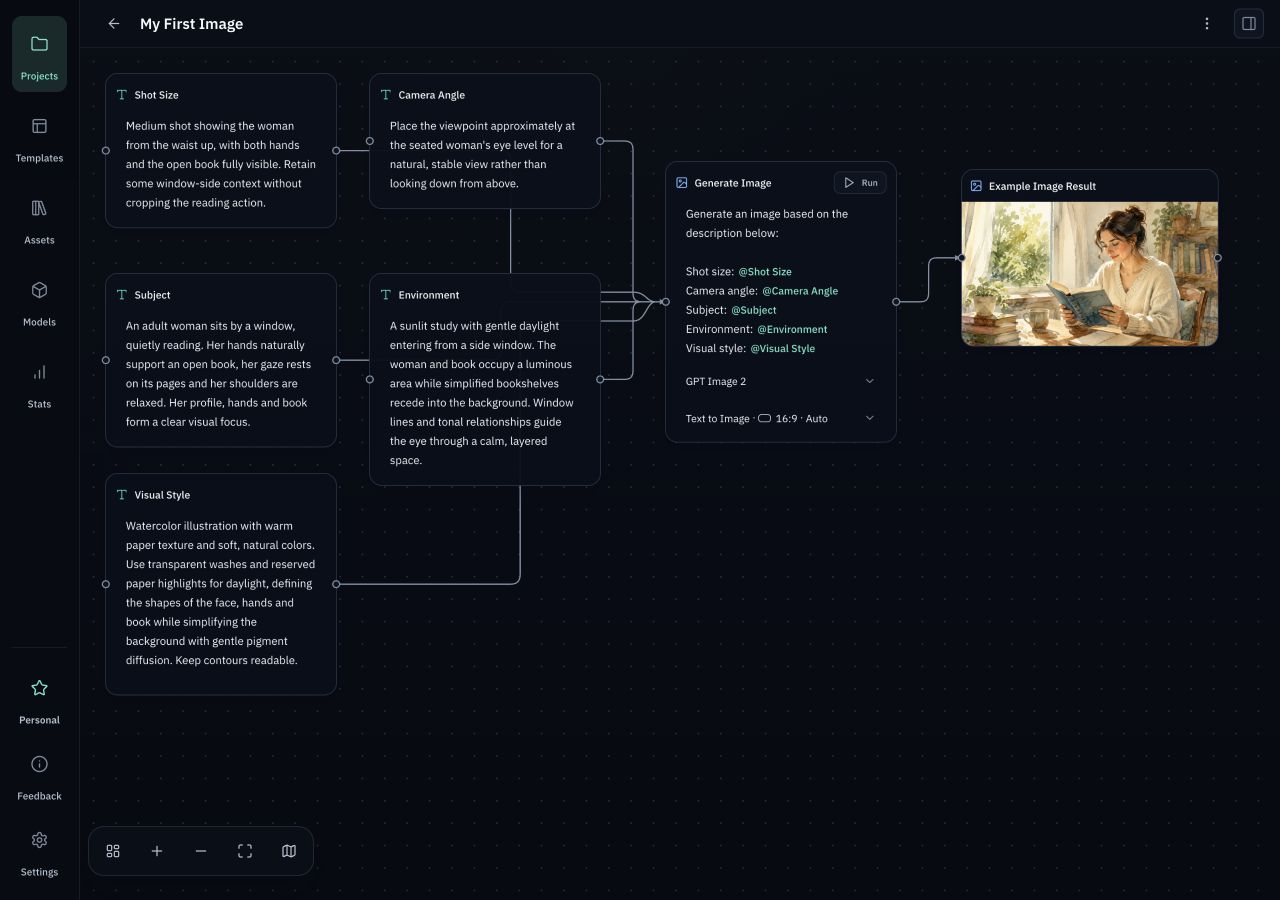
Quick start: Generate your first image
Fill in the example workflow and run GPT Image 2.
Screenshots show the English interface with demonstration data. Account details and keys are example values.
On this page
Services and costs
Orqra is local desktop software. Cloud models accessed through OpenRouter perform generation. R2 is optional cloud storage; you can also use other S3-compatible storage.
| Service | Role | Cost |
|---|---|---|
| Orqra | Edit workflows and save projects and results on your device. | Free has no software fee; Personal is a one-time $79 software licence. |
| OpenRouter | Provides access to cloud models and receives the prompts and inputs needed for generation. | Pay OpenRouter according to the model and usage. |
| Cloudflare R2 | Optional: use your own storage to temporarily provide reference images for video generation. | Standard storage includes a free allowance; usage beyond it is billed by Cloudflare based on storage and request counts. |
The software licence does not include model or storage credits. Regular text and image generation do not require R2.
Prepare an image model
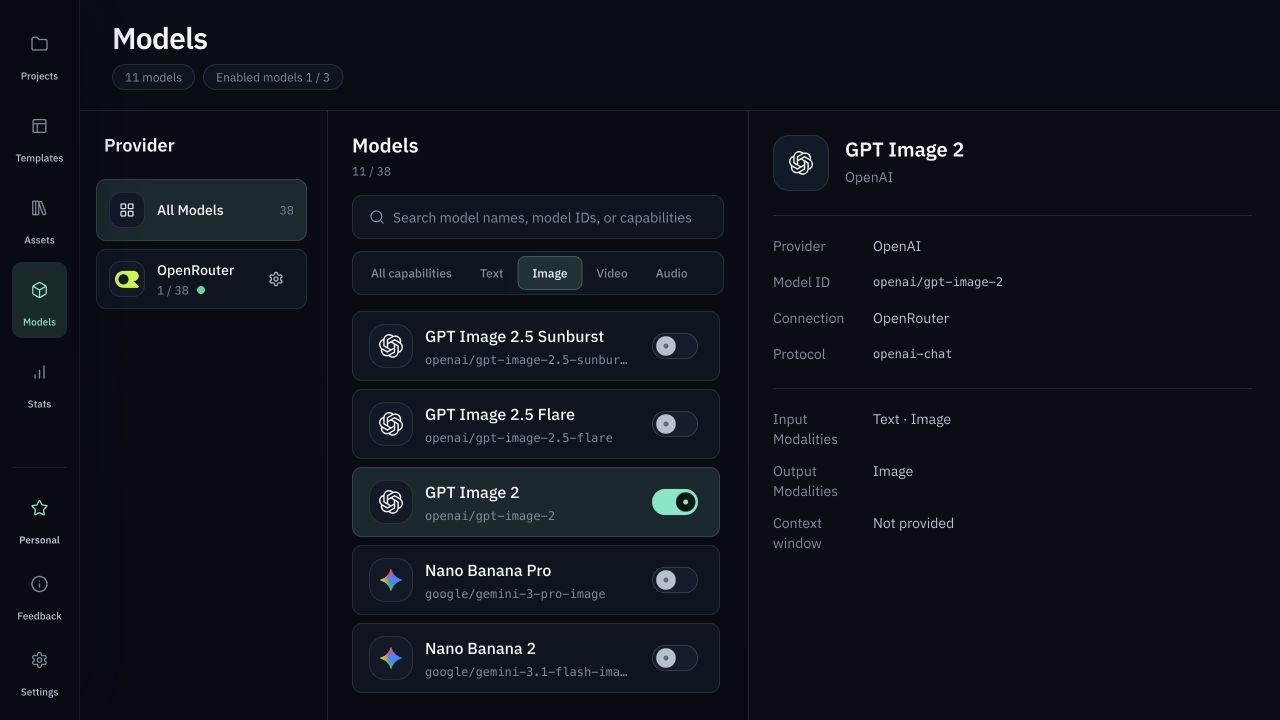
Install and open Orqra. On Models, click the settings icon beside OpenRouter. Enter your own API Key and choose Save; Orqra tests the connection before saving. Find GPT Image 2 and turn on its switch. Free needs no Orqra account or License.
Add the example workflow
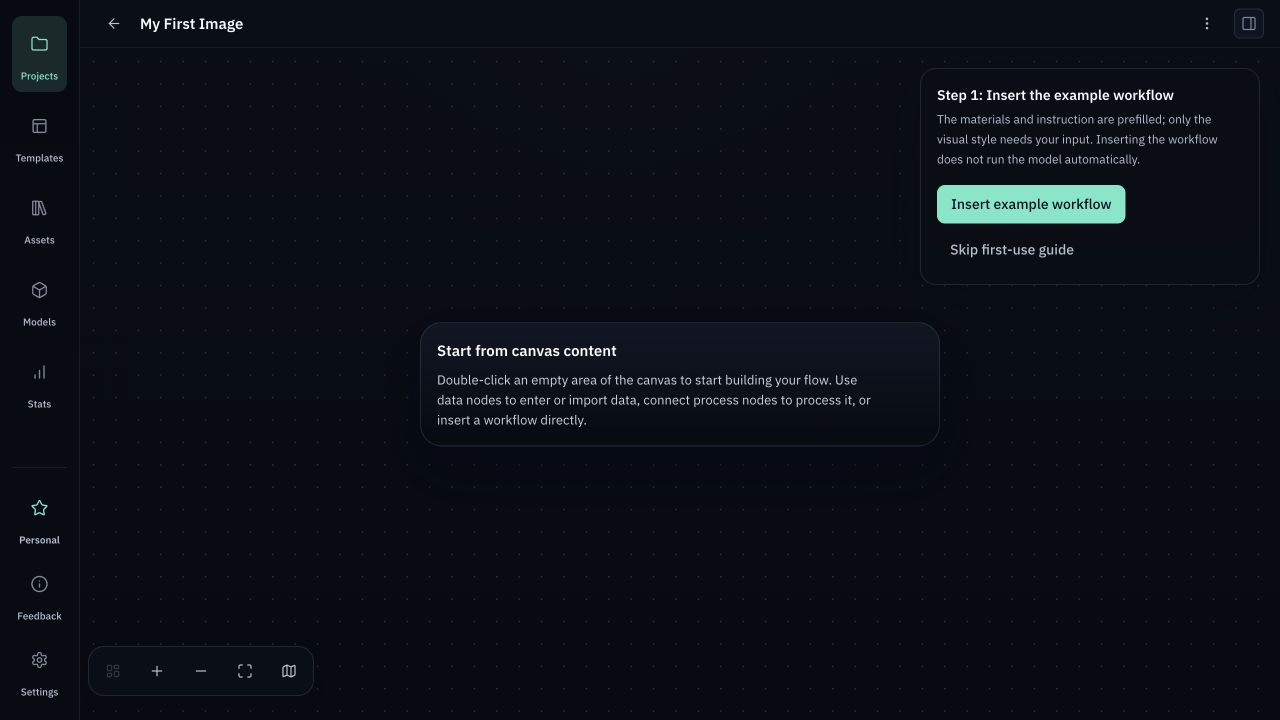
Create a project and open its empty canvas. Choose “Insert example workflow” in the first-use guide, then select GPT Image 2 in the image processing node. Neither action starts generation.
If the first-use guide is absent, double-click an empty area of the canvas and choose Example Workflow in the menu. It includes sample inputs and instructions. Quick Image Generation keeps its inputs blank for starting from scratch.
Review and edit the sample inputs
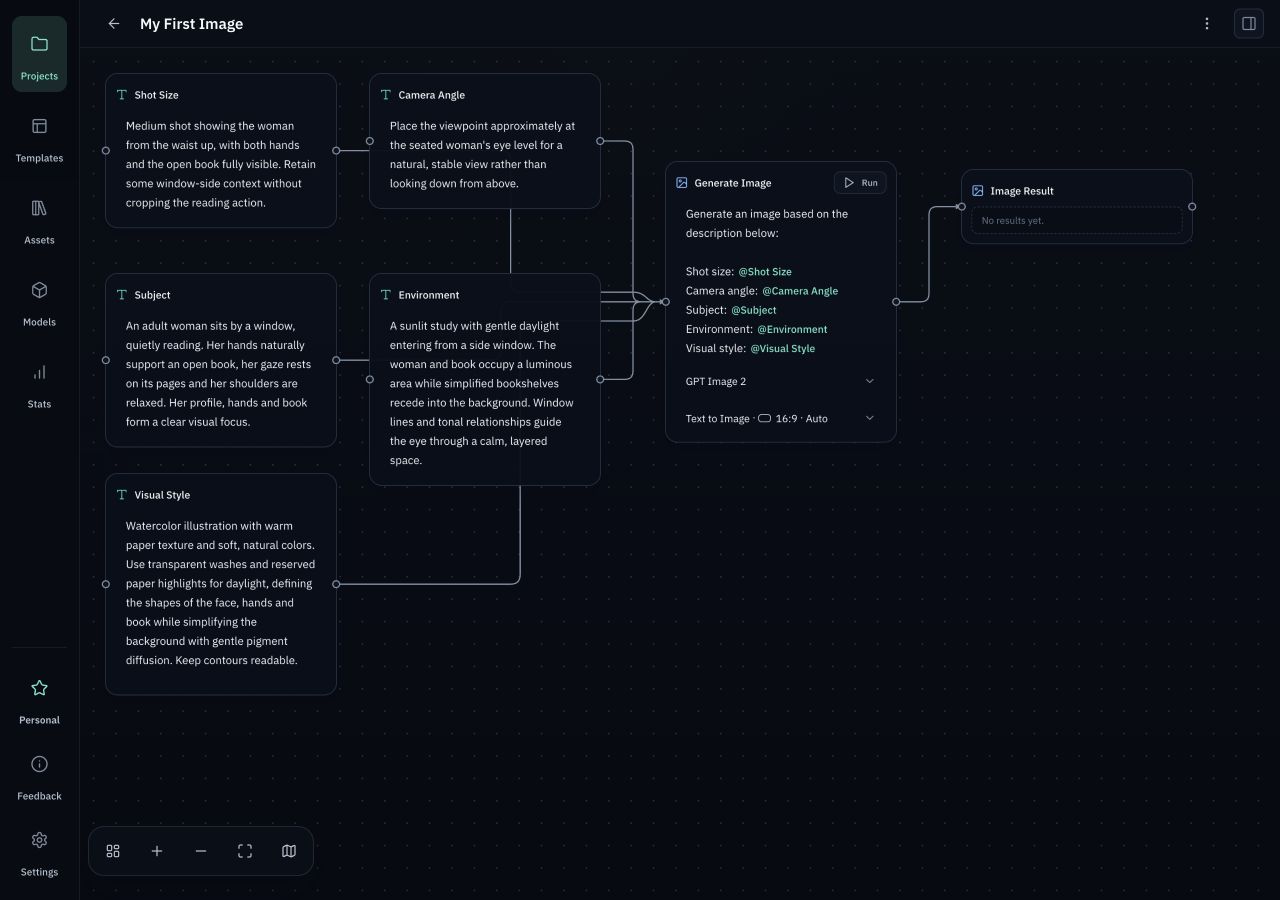
The first-use guide prefills shot size, camera angle, subject and environment for an adult woman reading by a sunny window, and leaves Visual Style empty. Enter Watercolour or type ! to insert a style template. Review and edit the content before running.
Run and view the image
Check the image node’s instruction, model, and parameters, then click Run. The returned image appears in the result node. After editing an input, run again to update the result. Each run is a new model request.